How to Paint an Accent Wall the Right Way
Professional results without hiring a painter. Learn colour selection, preparation, technique, and how to avoid the common mistakes that ruin projects.

Why Accent Walls Actually Work
An accent wall isn't just about throwing paint at a wall. It's a design strategy that transforms how a room feels. One bold wall draws your eye, anchors the space, and creates depth without overwhelming everything. You'll notice the difference immediately—the room suddenly has personality.
The trick is choosing the right wall and the right colour. Pick a wall that's naturally prominent—usually the one you see first when entering, or the wall behind your sofa or bed. This becomes your focal point. The colour you choose should complement your existing scheme but be bold enough to make a real statement. Too timid and you've wasted the effort. Too wild and you've created a design disaster.
We've seen it done wrong countless times—walls painted in colours that clash with furnishings, walls that aren't even visible from the main seating area, or colours so dark they make the room feel like a cave. This guide covers all of that. You'll understand the colour theory, the practical preparation steps, and the actual painting technique that separates professional-looking results from amateur work.

The Preparation That Changes Everything
Here's where most DIY projects fail. People rush through prep work. They don't want to spend time cleaning, filling, and sanding—they just want to paint. That's backwards. Preparation is 70% of the job. Skip it and your finish will look rough, uneven, and amateurish.
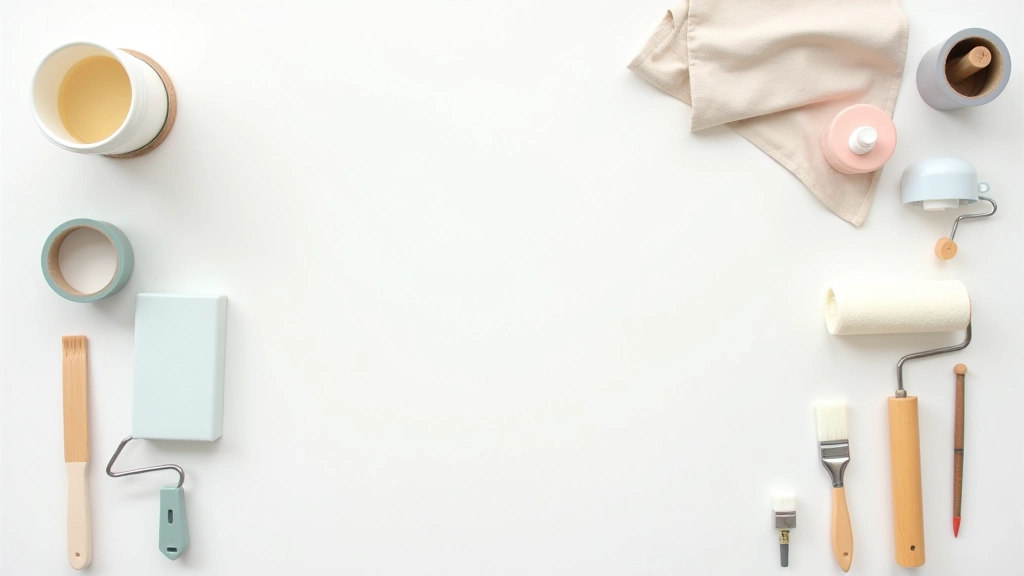
Start by clearing the room. Move furniture to the centre and cover everything with dust sheets. Dust the walls thoroughly with a dry cloth—you'd be surprised how much grime sits on walls. Fill any holes or dents with filler compound using a putty knife, then sand smooth once dry. This takes patience but makes an enormous difference.
Clean the walls with a damp cloth and mild detergent if they're grimy. Let them dry completely—don't rush this step. Mask off trim, ceiling, and adjacent walls with painter's tape. Press it firmly so paint doesn't bleed underneath. Apply a primer coat first, especially if you're painting over existing colour or if the wall is stained. It takes an extra hour but gives you a proper base for your topcoat.
Choosing Your Colour (The Part Everyone Gets Wrong)
Colour selection is where people either nail it or create something they regret for years. You can't just pick a colour from a paint card. Lighting in shops is completely different from lighting in your home. The same colour looks entirely different in natural light, warm bulbs, and cool LED lighting.
Buy sample pots first. Paint large patches on your accent wall and live with them for 2-3 days. Observe how the colour changes throughout the day. In morning light, afternoon light, and evening light. You'll see things you'd never notice from a paint card. One colour might look sophisticated in daylight but gloomy at night.
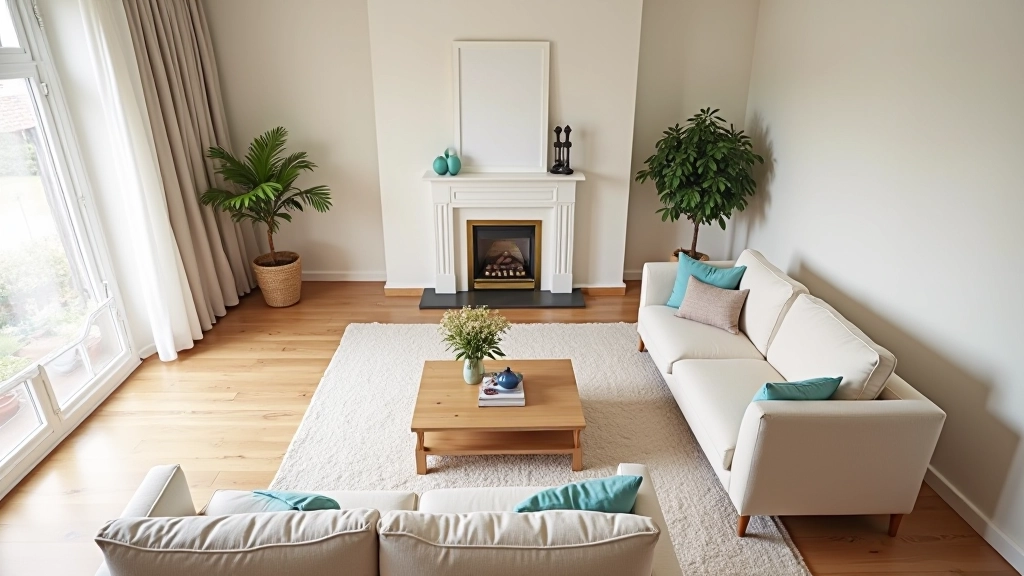
Consider the 60-30-10 rule. Your accent wall should be bold enough to be noticed but not so bold that it overwhelms. If your room has mostly neutral furniture and warm wood tones, a deep teal or rich charcoal works beautifully. If your furniture is already colourful, go subtler—perhaps a soft sage or muted grey-blue. Test your choice against your existing colours. Take fabric samples or photos of your furniture to the paint shop. Hold the paint chip next to them.

The Actual Painting Technique
1
Cut In First
Use a 2-inch angled brush to paint a border around the edges—top, bottom, and sides. This "cutting in" creates clean lines where the wall meets trim and ceiling. Take your time here. Sloppy edges ruin an otherwise professional job. Paint about 2-3 inches in from the edges with steady, controlled strokes.
2
Roll the Main Wall
Use a 9-inch roller with a 3/8-inch nap (this is the fuzzy depth—important for proper coverage). Apply paint in a "W" pattern, then fill in the pattern without lifting the roller. This technique ensures even distribution without streaks. Work in 3-foot sections. Don't press too hard—let the roller do the work. One coat rarely covers properly. You'll almost certainly need two coats, especially if you're painting a bold colour over a light wall.
3
Let It Dry Properly
Don't rush the drying time. Most paints need 3-4 hours between coats, but it's better to wait overnight. This gives the paint time to cure and ensures your second coat adheres properly. Paint the second coat using the same technique. The difference between one coat and two coats is night and day. That second coat gives you even coverage and true colour depth.
4
Remove Tape While Paint Is Tacky
Here's a pro tip most people don't know: remove painter's tape while the paint is still slightly tacky, not completely dry. This creates a cleaner line. If you wait until the paint is fully dry, you can sometimes pull the paint off with the tape. Wait about 30-45 minutes after your final coat, then carefully peel the tape away at a 45-degree angle.
Common Mistakes to Avoid
Skipping Primer
Paint doesn't adhere properly to bare drywall. You'll get uneven coverage and the paint will soak into the wall. Primer seals the surface and gives paint something to grip. It's not optional—it's essential.
Choosing the Wrong Wall
Pick a wall you'll actually see. Don't paint a wall that's hidden behind a door or furniture. The whole point is to create a focal point. Choose the wall that draws your eye naturally when you enter the room.
Using Cheap Paint
Budget paint often requires three coats to achieve proper coverage. Quality paint covers better, flows smoother, and lasts longer. You'll spend more upfront but use less paint overall and get better results.
Painting Over Dirt and Dust
Dust particles create a rough texture under the paint. Clean the wall properly before you start. It takes 15 minutes and makes the difference between professional and amateurish results.
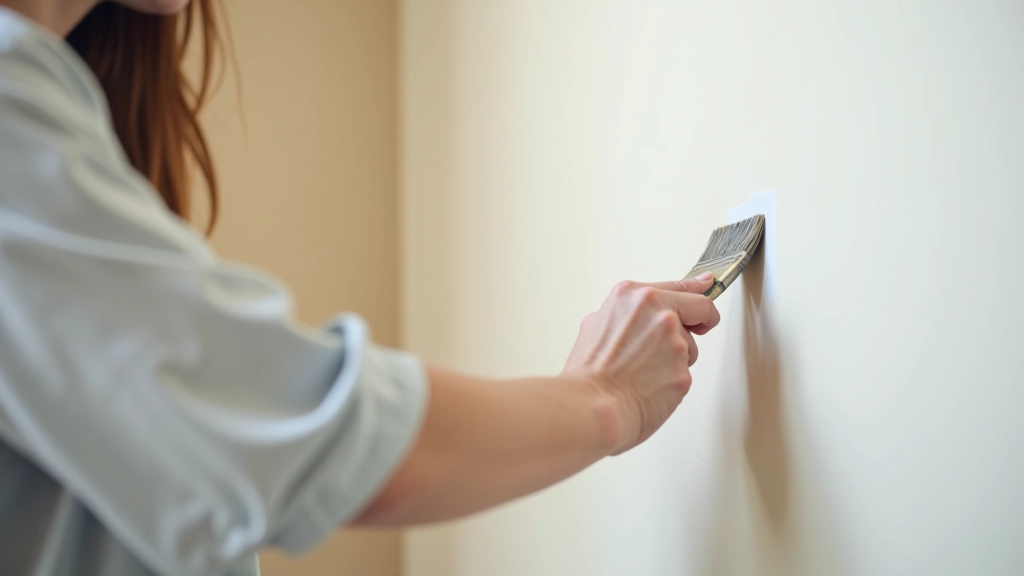
Your Accent Wall Is Ready
You've got everything you need now. The right preparation creates a smooth base. Proper colour selection means you'll love your choice for years. And the technique—cutting in, rolling, drying between coats, removing tape at the right moment—that's what separates a DIY project that looks amateur from one that looks professionally done.
Don't rush any step. Set aside a full day for the project, including prep work. The room will transform. That single bold wall anchors the entire space, draws your eye, and makes everything else feel more intentional. You'll be genuinely proud of the result.
One final thought: don't be afraid of colour. Many people play it too safe with beige and grey. A deep teal, rich forest green, or even a soft terracotta can be absolutely stunning. You've spent the time on preparation and technique—use that effort to create something you genuinely love living with.
Disclaimer
This guide provides educational information about DIY accent wall painting based on common techniques and best practices. Every home, wall surface, and paint product is different. Results depend on your specific situation, materials used, and application skill. Always follow the manufacturer's instructions on your paint product. If you're uncertain about any step or if your walls have special conditions (moisture issues, prior damage, unusual finishes), consult a professional painter or surveyor before starting your project.